
A reloading bench rarely becomes inefficient because of one major mistake. More often, it happens one small delay at a time: a tool buried behind a container, a loose die box that has to be found, a shellholder rolling into a drawer, or a component tray taking up the only clear space on the bench. This reloading station efficiency case study looks at the workflow changes that matter most when the goal is a cleaner, faster, more repeatable setup.
The focus is not on rushing a process that requires attention. Good reloading practices still depend on the applicable equipment instructions, published load data, and careful verification. The objective is to remove wasted movement and visual clutter so attention stays where it belongs: on the task in front of you.
The Starting Point: A Capable Bench With Too Much Friction
This representative setup had quality equipment, adequate bench space, and a reloader who knew his process. The issue was not a lack of tools. It was that the tools did not have defined homes.
Prep tools were kept in a general drawer. Dies remained in their factory boxes on a shelf. Powder handling accessories shared space with unrelated shop items. Small parts lived in a few different containers, and the bench surface became temporary storage whenever a task changed. Nothing was technically inaccessible, but nearly every stage involved looking, reaching, moving something aside, or walking to another part of the room.
That friction creates more than lost time. A crowded work area makes it harder to see what is active, what has been put away, and what belongs to the current operation. For reloaders who switch between cartridges, presses, or prep tasks, resetting the bench can become the most frustrating part of the session.
Fix 1: Assign Every Frequently Used Tool a Fixed Position
The first change was simple: tools used during each session received a dedicated position within easy reach. Rather than treating drawers and shelves as general storage, the station was divided into working zones.
The primary zone held the press and items used directly at the bench. A secondary zone held prep tools, measuring equipment, and accessories used often but not continuously. Long-term storage stayed outside the immediate work envelope. This reduced the habit of placing tools wherever there happened to be room.
Dedicated holders matter because they eliminate the search step. A holder designed around the actual diameter, body shape, or handle profile of a tool provides a better result than a catch-all bin. The tool returns to the same position every time, and an empty position immediately shows that something has not been put away.
Fix 2: Store Dies by Cartridge, Not by Available Shelf Space
Die storage was one of the biggest sources of unnecessary handling. Factory boxes protect dies well enough, but stacked boxes are not efficient when a reloader needs to identify a set, pull it out, find the correct components, and then make room for the box on the bench.
The improved layout grouped each die set with its cartridge-specific accessories. Labels faced outward, and the sets were stored vertically in a dedicated holder rather than stacked in a cabinet. This made identification immediate and kept the working bench clear during changeovers.
There is a trade-off here. Vertical, visible storage consumes more wall or shelf frontage than piling boxes into a deep cabinet. For a reloader with only a few calibers, the difference may be minor. For someone who maintains multiple die sets, however, visible organization can save enough setup time to justify the space.
A purpose-built 3D-printed die holder can be especially useful when it is designed for the die bodies and storage location already in use. PETG construction is well suited to workshop organization because it resists the ordinary bumps, handling, and temperature changes that can make lightweight organizers feel disposable.
Fix 3: Separate Active Components From Bench Storage
The original bench had an unclear boundary between components currently being used and components simply waiting for a place to go. That meant partially used containers, empty trays, and miscellaneous packaging stayed on the bench long after they were needed.
The revised station adopted a one-operation rule: only the tools, containers, and components needed for the current task remain in the primary work area. Everything else returns to its assigned location before the next operation begins.
This is not about making the bench look staged for a photo. It is a practical visual-control method. A clear work surface makes it easier to notice an item that does not belong, distinguish active materials from stored materials, and avoid mixing equipment from separate tasks. When the session ends, cleanup is faster because there is no debate about where each item should go.
Fix 4: Put Small Parts Where They Cannot Wander
Small reloading accessories create a disproportionate amount of lost time. Shellholders, bushings, pins, adapters, and specialty tools are easy to misplace because they are easy to set down "just for a second." Once they enter a mixed drawer or roll under equipment, the interruption can stop the entire setup.
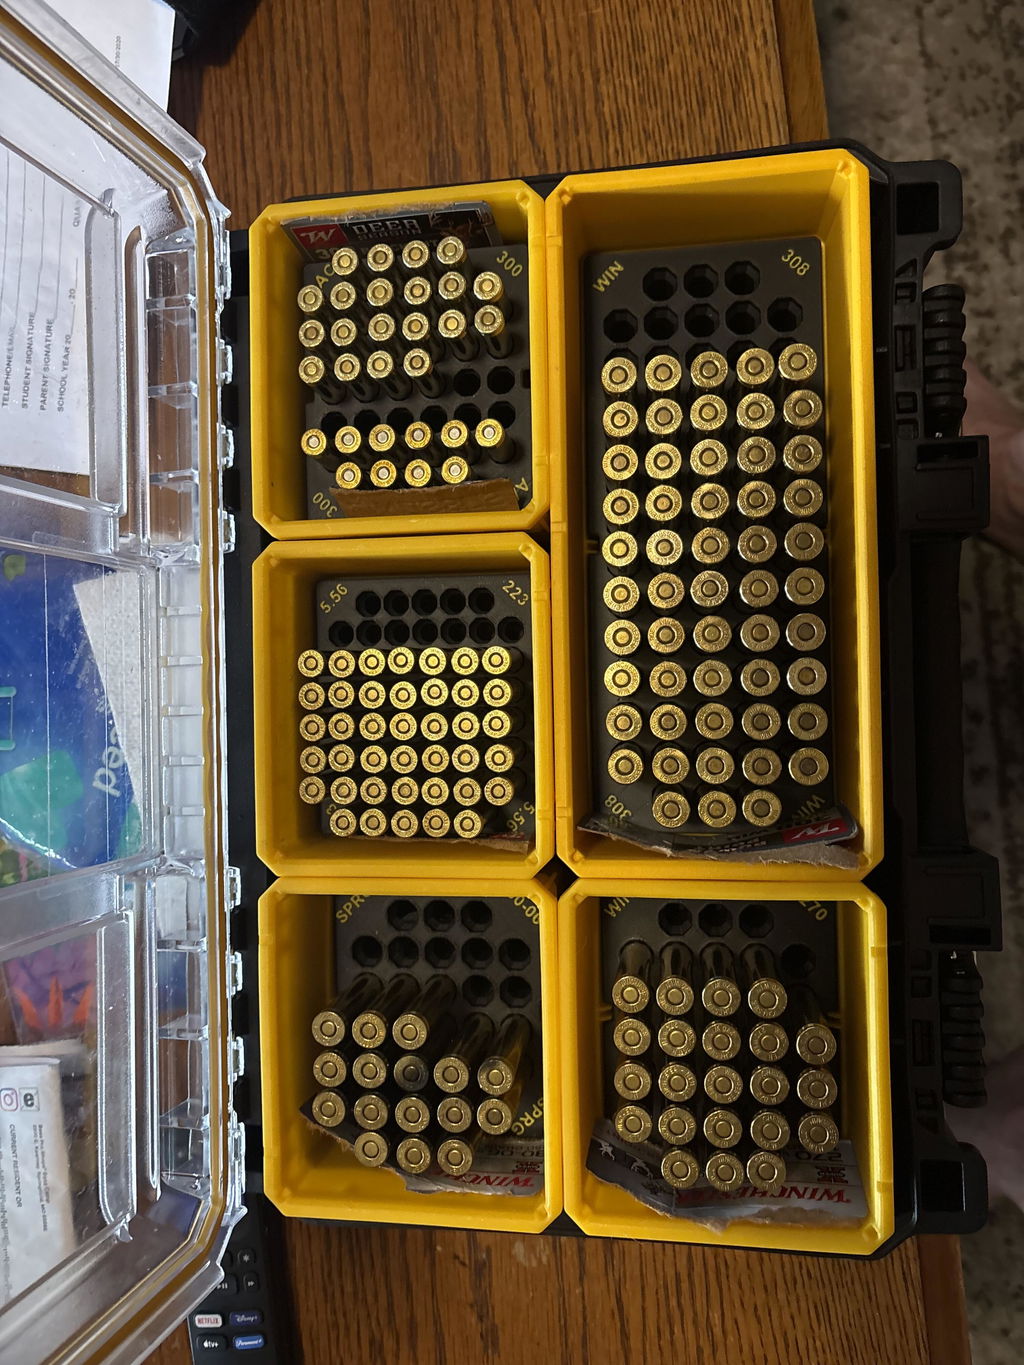
The solution was not one large organizer full of unlabeled compartments. It was a set of small, specific storage positions located near the equipment they support. Frequently paired items were kept together, while similar-looking parts were separated enough to prevent grab-and-go mistakes.
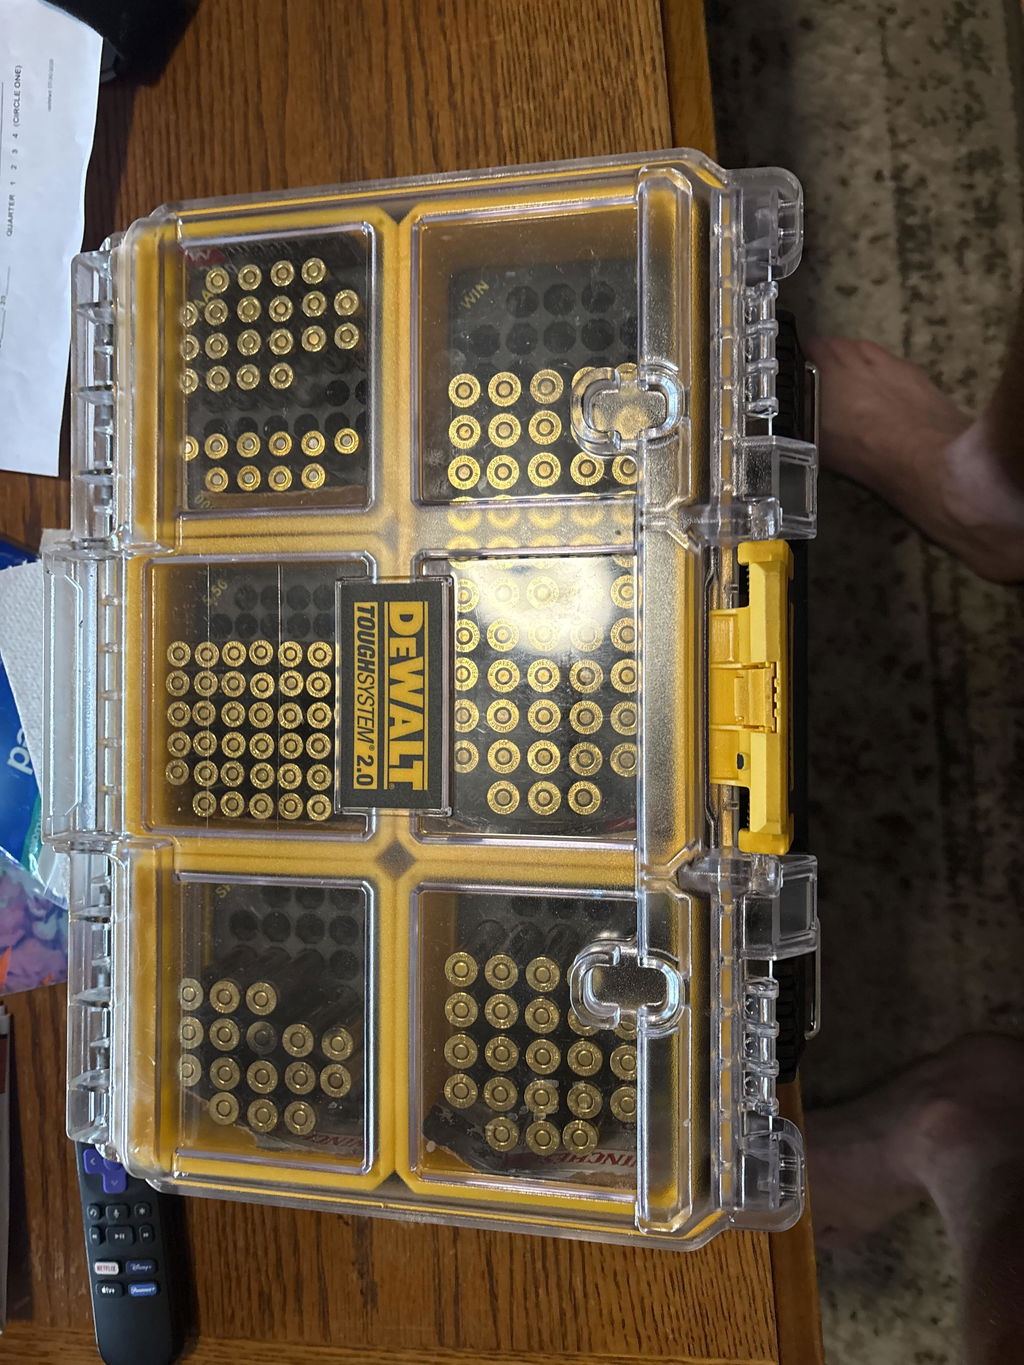
This is where exact-fit storage earns its keep. A dedicated cavity is easier to use correctly than a loose compartment, especially when hands are busy and the bench is already active. For reloaders who transport equipment between a home workspace and another location, fitted inserts also help keep small accessories from shifting inside a case.
Fix 5: Build Changeover Around the Next Session
The reloader in this case did not need to set up one cartridge once. He needed to switch configurations repeatedly over time. That made changeover efficiency more valuable than shaving a few seconds from a single repetitive action.
After each session, the station was reset for the next likely task. This did not mean leaving components out or assuming the next job would never change. It meant returning common tools, die sets, and accessories to labeled, accessible locations so the next setup began with a clear bench and a known starting point.
A good test is to ask whether a specific setup can begin without opening three unrelated drawers or clearing a shelf first. If the answer is no, the organization is still based on storage convenience rather than workflow. The best layout follows the sequence of work, not the shape of leftover cabinet space.
Fix 6: Make the Station Easy to Audit at a Glance
The final improvement was visual. Every holder, tray, and storage position was selected or labeled so its purpose could be understood without opening it. The result was not a showroom bench. It was a bench where missing tools, misplaced accessories, and accumulating clutter were obvious early.
An at-a-glance layout is particularly useful for shared workshops, intermittent reloaders, and anyone who works in shorter sessions. It reduces the mental effort of remembering where something was placed weeks ago. It also makes cleanup a defined process instead of an end-of-day scavenger hunt.
WM Prints designs workflow-focused storage solutions around this same principle: equipment should fit securely, remain accessible, and support the way serious users actually work. Generic organizers can be useful for bulk storage, but a purpose-built holder is often the better choice for the tools that affect every session.
What Changed After the Reorganization
The biggest improvement was not raw speed. It was consistency. Setup involved fewer interruptions, the bench stayed clearer, and cleanup no longer required sorting through a pile of items that had migrated during the session. The reloader could move from one stage to the next with less reaching and less second-guessing.
That distinction matters. A well-organized station should not encourage cutting corners. It should make deliberate work easier to maintain. When tools are visible, components are controlled, and every accessory has a fixed home, the workspace supports focus instead of competing for it.
The right layout depends on your press, available space, cartridge selection, and whether the bench stays in one place or travels in a case system. Start with the tools that create the most repeated interruptions. Give those items exact, durable homes first, then let the rest of the station follow the workflow they support.