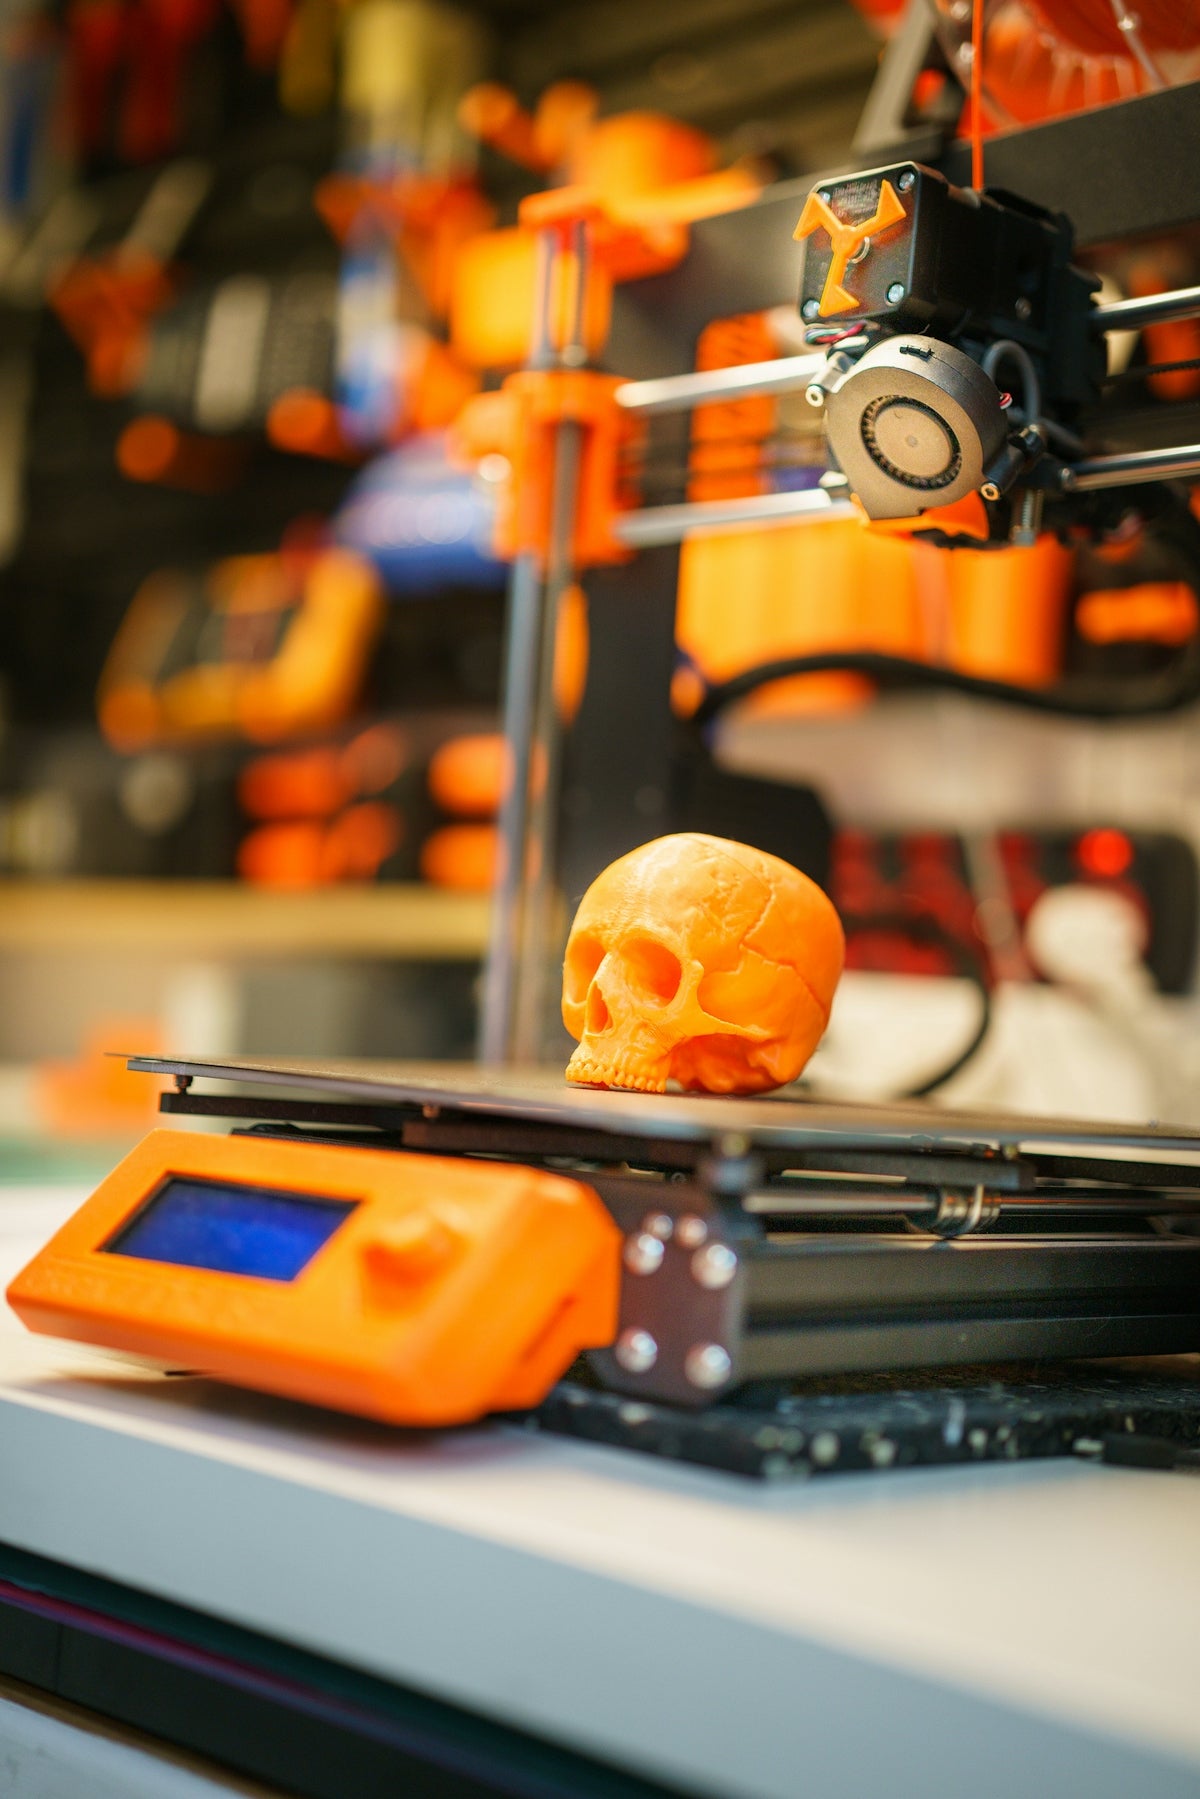
3D printing is a captivating technology that bridges the gap between digital design and physical manufacturing. However, like any technology, it comes with its set of challenges and potential failures. If you're passionate about 3D printing, mastering the art of troubleshooting is essential to enhance your craft and avoid common pitfalls. In this article, we delve into practical solutions for common 3D printing failures, helping you achieve smoother and more reliable prints.
Understanding Common 3D Printing Failures
Before diving into troubleshooting, it's vital to identify the types of failures you might encounter. Here are some typical issues faced by 3D printing enthusiasts:
- Layer Shifting: This is when the layers of your print start to shift, leading to a misaligned print. It often results from mechanical issues such as loose belts or an unsteady printing surface.
- Under-extrusion: This occurs when the printer does not dispense enough material, leading to weak and porous parts. Common causes include a clogged nozzle or insufficient feeder tension.
- Warping: Warping arises when the print detaches from the build surface due to cooling stress. It's more prevalent in materials like ABS than PLA.
- Stringing and Oozing: Also known as "hairy prints", this happens when small strings of filament are left behind during travel moves. Improper retraction settings usually cause this.
- Poor Adhesion: When the first layer does not stick correctly to the build plate, it can cause the entire print to fail. This might be due to incorrect bed leveling or a dirty printing surface.
Tips for Troubleshooting
Layer Shifting Solutions
- Check Belt Tension: Ensure that the belts are neither too tight nor too loose. Proper tension ensures the carriage moves smoothly without skipping steps.
- Inspect Linear Rails: Make sure the linear rails or rods are clean and lubricated, allowing your printer to operate smoothly.
Under-extrusion Fixes
- Clear the Nozzle: Regularly clean or replace the nozzle to prevent clogs.
- Adjust Extruder Settings: Check that the extruder is calibrated correctly to avoid dispensing the wrong amount of filament.
Overcoming Warping
- Temperature Control: Maintain an ambient temperature around the printer and use an enclosure if necessary to prevent drafts.
- Use a Heated Bed: Ensures that the plastic adheres better and doesn't warp during cooling.
Reducing Stringing and Oozing
Adjust Retraction Settings: Fine-tune your printer's retraction speed and distance to minimize filament leakage during non-print moves.
Enhance Adhesion
- Level the Bed: Accurate bed leveling is crucial. Use a leveling sensor if necessary to achieve a perfect first layer.
- Clean the Build Plate: Remove any residuals from the build plate and consider using adhesive aids like glue stick or painter's tape.
Use the Right Tools
A smooth 3D printing experience often involves using the right tools. Products like the Lyman Type prep tools holder can help maintain an organized workspace, making it easier to manage and access essential tools for printer maintenance and repair.
In conclusion, mastering the art of troubleshooting 3D printing failures requires patience, a bit of learning, and the right equipment. By identifying issues promptly and applying the right solutions, you can improve your 3D printing outcomes and enjoy this fascinating technology even more.
Looking to enhance your 3D printing setup? Visit wmprints.com for a variety of tools and accessories to support your 3D printing journey.


